This post details the implementation of a highly scalable Discord bot using a single serverless function in GCP. It's part of a series of posts which describes the same project, a highly scalable Discord bot which reacts to the "/mando" command by generating a unique mandala and serving the image back, implemented using multiple approaches. I did this to play and experiment with GCP. Might want to read the introductive post first.
TLDR
- It's quite complicated to deploy a Discord bot using a single serverless function; Discord requires a response to their POST no later than a few seconds, or else they consider the bot is not responsive and displays an error message. However, generating the mandala and uploading it to the bucket takes more than a few seconds. Technically, there should be possible to get the underlying data stream that Flask is using to send data back to the client and manually write the response to Discord, but that's a hack I would not use for production code.
- use gcloud CLI (or even better, infrastructure as code), don't click around in the cloud web interface; it's way more easy to reproduce things later, for you or for other people.
- use Functions Framework + ngrok to develop your code locally so that you don't have to wait for the cloud deploy for every minor code update.
- create a new project, don't reuse existing projects; this way, when you're done experimenting, just delete the project and you're good.
- always create a budget so that you're safe.

Always create a budget

Install gcloud CLI & local testing using ngrok
pip install functions-frameworkfunctions-framework --target=handle_requestFor more information on how to use the Function Framework, read here.
OK, but we are developing an HTTP endpoint which is going to be invoked by the Discord server, which is running in the internet. How can the Discord server invoke an endpoint deployed locally on my laptop, you might ask. Meet ngrok ! It's a tool you install on your machine which create a tunnel between your laptop and their public server. Once started, ngrok provides you with a public address on their server which is tunneled to locally deployed HTTP endpoint port.
Simply download the ngrok tool on your machine and run the command as below (provided the port for your locally deployed HTTP endpoint is 8080).
./ngrok http 8080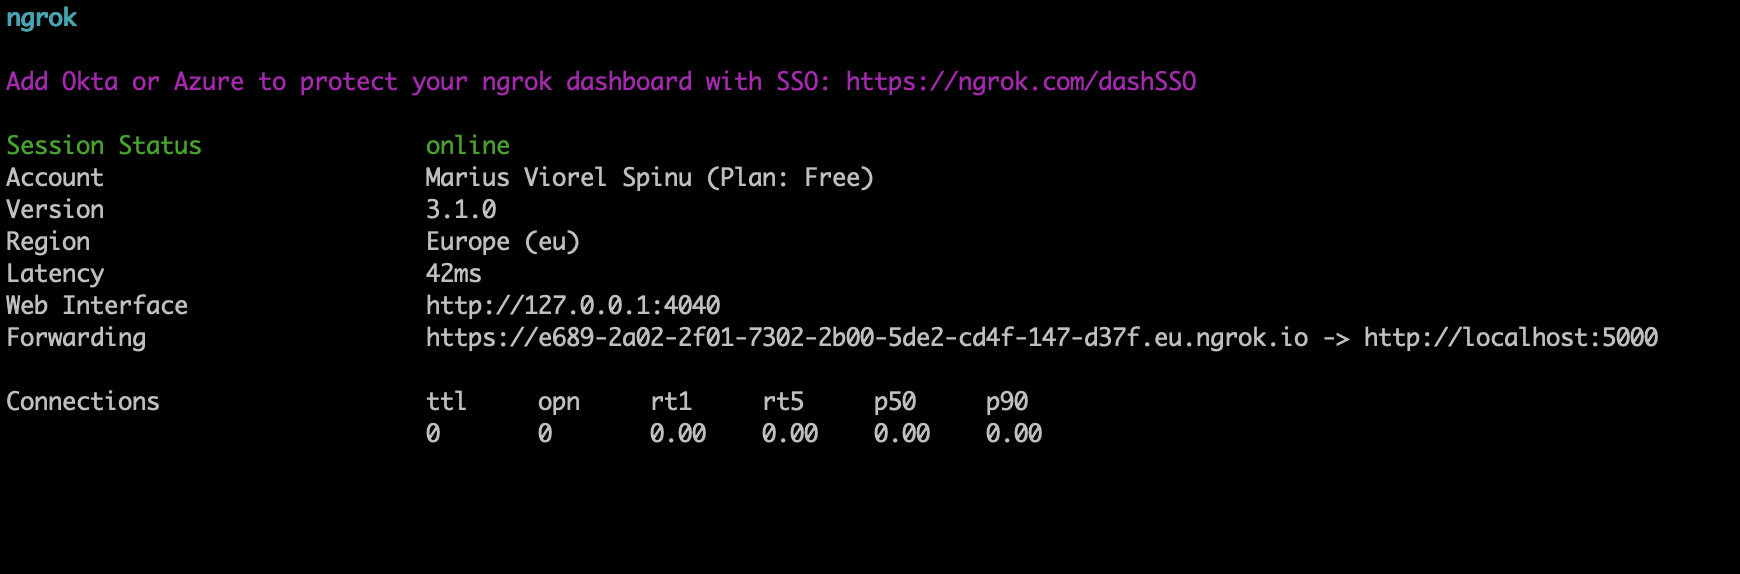

The source code
  import uuid
  import functions_framework
  import requests
  from flask import abort
  from flask import jsonify
  from google.cloud import storage
  from nacl.exceptions import BadSignatureError
  from nacl.signing import VerifyKey
  from config import public_discord_key, discord_app_id, bucket_name, local_tmp_folder
  from mando import create_mando

  def upload_blob(source_file_name, destination_blob_name):
    storage_client = storage.Client()
    bucket = storage_client.bucket(bucket_name)
    blob = bucket.blob(destination_blob_name)
    blob.upload_from_filename(source_file_name)

  def reply_bot_is_thinking(interaction_id, interaction_token):
    reply_response = requests.post(
        url=f"https://discord.com/api/v8/interactions/{interaction_id}/{interaction_token}/callback",
        json={
            "type": 5,
            "data": {
                "tts": False,
                "content": "generating, please wait...",
                "embeds": [],
                "allowed_mentions": {"parse": []},
            },
        },
    )
    reply_response.raise_for_status()

  def reply_mando_result(interaction_token, mando_filename):
    mando_url = f"https://storage.googleapis.com/{bucket_name}/{mando_filename}"
    reply_response = requests.patch(
        url=f"https://discord.com/api/v8/webhooks/{discord_app_id}/{interaction_token}/messages/@original",
        json={
            "tts": False,
            "content": "image",
            "embeds": [
                {
                    "thumbnail": {"url": mando_url},
                    "image": {"url": mando_url},
                }
            ],
            "allowed_mentions": {"parse": []},
        },
    )
    reply_response.raise_for_status()

  def validate_request(request):
    verify_key = VerifyKey(bytes.fromhex(public_discord_key))
    signature = request.headers["X-Signature-Ed25519"]
    timestamp = request.headers["X-Signature-Timestamp"]
    body = request.data.decode("utf-8")

    try:
        verify_key.verify(f"{timestamp}{body}".encode(), bytes.fromhex(signature))
    except BadSignatureError:
        return False
    return True

  @functions_framework.http
  def handle_request(request):
    is_valid = validate_request(request)
    if not is_valid:
        abort(401, "invalid request signature")

    request_type = request.json["type"]
    if request_type == 1:
        return jsonify({"type": 1})
    else:
        interaction_token = request.json["token"]
        interaction_id = request.json["id"]

        reply_bot_is_thinking(
            interaction_id=interaction_id, interaction_token=interaction_token
        )
        local_file_name = f"{str(uuid.uuid4())}.png"
        create_mando(local_tmp_folder=local_tmp_folder, local_file_name=local_file_name)
        upload_blob(f"{local_tmp_folder}/{local_file_name}", local_file_name)

        reply_mando_result(
            interaction_token=interaction_token,
            mando_filename=local_file_name,
        )

        return {}, 200
import random

import matplotlib.pyplot as plt
from RandomMandala import random_mandala


def random_rgb_color():
    r = random.randint(0, 255)
    g = random.randint(0, 255)
    b = random.randint(0, 255)
    return "#{:02x}{:02x}{:02x}".format(r, g, b)


def create_mando(local_tmp_folder, local_file_name):
    radius_len = random.randint(5, 20)
    radius = []
    facecolor = []
    radius.append(3)
    facecolor.append(random_rgb_color())
    for i in range(1, radius_len - 1):
        radius.append(radius[i - 1] + random.randint(1, 5))
        facecolor.append(random_rgb_color())

    fig3 = random_mandala(
        radius=radius,
        rotational_symmetry_order=random.randint(3, 20),
        face_color=facecolor,
        connecting_function="fill" if random.random() < 0.5 else "bezier_fill",
        symmetric_seed="random",
    )
    fig3.tight_layout()
    plt.savefig(f"{local_tmp_folder}/{local_file_name}", dpi=200)
    plt.close(fig3)
The hack

However, given we are using a single function, we cannot return until we have generated the image and uploaded it to the storage bucket. If we do that, Discord timeouts and the user receives an error. So, I'm using a POST on the /interactions endpoint to create the first reply, and the do a PATCH later to send the image. Discord docs say you can only do that if you received a message via the API gateway, but seems to also work when you get the message via the webhook. This is not something you should do for a production application ! If it works now, it doesn't mean it will always work. As long the docs say to not do that, just don't do that. That's another reason in favor of the deployment with more than one serverless function.

Creating the resources and deploying the code
gcloud storage buckets create gs://mando_bucket_1234
gsutil defacl ch -u AllUsers:R gs://mando_bucket_1234
gsutil acl ch -u AllUsers:R gs://mando_bucket_1234/**
gcloud functions deploy discord-bot-single \
                      --runtime=python39 \
                      --region=europe-west6 \
                      --source=. --entry-point=handle_request \
                      --trigger-http \
--allow-unauthenticatedThe result
